

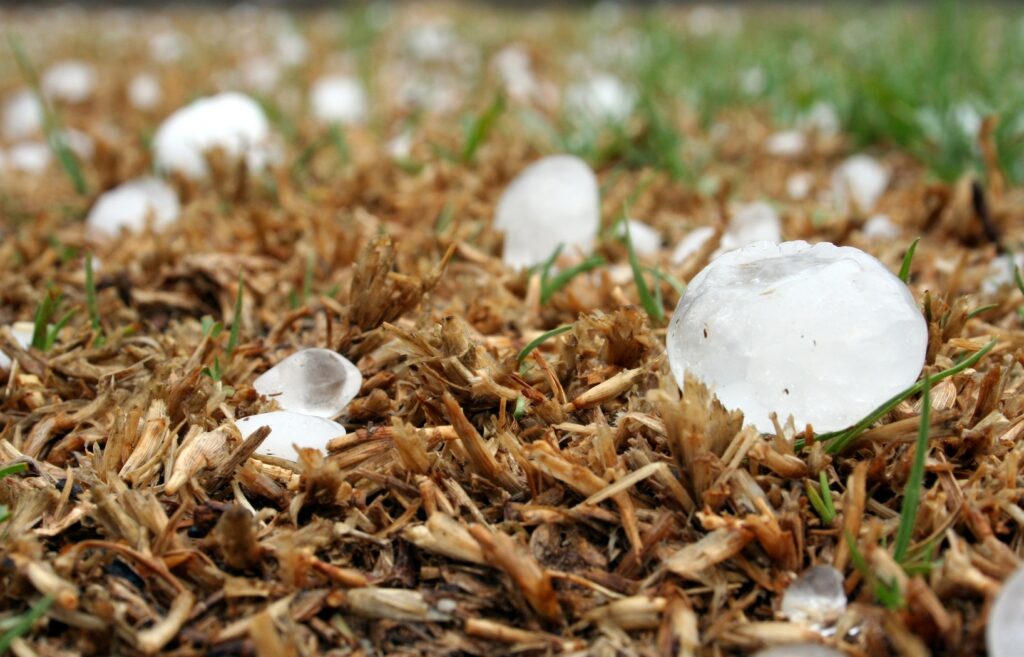
Car hail damage is one of the most vexing problems that can plague a car owner, especially one living in an area where hail is common. An unexpected hailstorm can total your car in some cases, as repairing the damage is extremely expensive if undertaken professionally. Thankfully, there are some DIY hail damage repair methods you can try before you throw in the towel.
There are many ways to remove hail damage without seeking professional repair. Methods include using heat, cold, and dent repair kits to “pop” dents out of the body panels of the car. DIY hail damage repair methods have varying degrees of success, depending on the skill of the person using them.
Below, we’ll look at what you can expect from your DIY car hail damage repair. We’ll also check out the different recommended methods to deal with hail damage – especially in the parts of your car that you can’t just replace.
Table of Contents
Reasonable Hail Damage Repair Expectations
Before we begin, it’s important to note that your results may vary wildly. Taking on DIY car hail damage repair is not a guaranteed solution to the problem most of the time, and how you go about it can determine how ‘professional’ the results look.
Here are some of the factors that can influence how well your DIY hail damage repair works:
- The number and frequency of dents and damage
- How deep the dents are
- The location of the dents (i.e., a dent on a hood vs. a dent on a curved body panel)
- The method you use or the type of kit you purchase to deal with hail damage
There is no real replacement for professional hail damage repair. You can attempt to do it yourself to varying results, but professional bodywork guarantees that work is completed correctly. If you are very concerned about your car looking its best, take it to a body shop.
[googleadsycc adunit=”inarticle”]
However, professional hail damage repair can be costly. The body shop may recommend replacing some body panels, considerably increasing the expense associated with the repair. If you are willing to pay for a complete repair, taking your hail-damaged car to a body shop is always the best option.
But we recognize that this isn’t always an option. For whatever reason, removing the hail damage yourself can often seem like a more attractive choice. Just keep in mind that DIY car hail damage repair jobs rarely look as good as professional work.
Choose Your Method

There are a handful of different methods that DIYers like to use to remove hail damage. Let’s take a quick look at each of these options so you can choose one that works for you.
| Method | Required Tools | Skill Level | Results |
| Sunlight | None | — | * |
| Sunlight + Hair Dryer | Hairdryer + Extension Cord | * | ** |
| Sunlight + Hair Dryer + Dry Ice | Hairdryer + Extension Cord + Dry Ice Chips/Cubes | ** | ** |
| Dent Puller | Dent Puller Device | *** | *** |
| Dent Repair Kit | Varies based on the kit | **** | *** |
As you can see, most of these methods require some degree of skill. If you’re going to try these methods, it may take some trial and error to learn how to use the necessary tools.
Sunlight Method
The sunlight method relies on simple heating to help pop dents out of your car’s body panels. Note that this method (and most of the methods on our list) work best when attempted on smaller dents, as deeper and more significant dents take more work to remove.
When metal is heated, it expands. At higher temperatures, this may be enough to pop out some of the smaller dents on your car’s body.
The idea is to park your car in direct sunlight for days at a time, preferably during hot days. Make sure that to take care of the leather or plastic surfaces inside your vehicle. Direct sunlight can damage these surfaces, so cover them or use a leather protectant to keep them looking great.
[googleadsycc adunit=”inarticle”]
This method requires no skill and no tools, but it also doesn’t always produce results. There is a chance that some of the smaller dents could pop out due to the metal expanding, but usually, the temperature must be much higher to produce the desired effect.
Sunlight + Hairdryer Method
In most cases, sunlight isn’t going to be enough to remove the dents in your car’s body panels. While this method can work, it often requires hotter temperatures than the sun can produce on its own.
For this method, you’ll need to run an extension cord out to your car, which needs to remain in direct sunlight. Using a hairdryer, you can attempt to direct heat to specific sections of the metal to cause it to expand.
Use the hairdryer on the hottest setting, making sure not to touch the car with the hairdryer. Most experts recommend holding it between 5 and 7 inches from the surface of the metal for no more than 2 minutes at a time. Make sure to keep an eye on your paint. If it begins to look damaged or change color, stop applying heat immediately.
Sunlight + Hairdryer + Dry Ice Method
This option compounds upon the other two methods listed above. This is the last and most drastic heating/cooling method for getting dents to pop out, and it requires a lot more skill and agility than the others.
First, you’re going to need dry ice chips and gloves to carry them. Dry ice can damage your skin, so make sure that you will be wearing gloves as you try this method. Don’t use dry ice without gloves to protect your hands.
You’ll want to run the dry ice all over the dent. If your car has been sitting out in the sunlight, it may take a few ice chips to cool down the heated metal. Rub the dry ice over the entire area to cool the metal, and then immediately turn the hairdryer onto the same spot. The rapid heat and change of temperature may cause the dent to pop out on its own.
[googleadsycc adunit=”inarticle”]
This method requires you to switch between the dry ice and the hairdryer rapidly, or have help from another person. Even then, it may not work – the hairdryer may not get the surface hot enough to expand. The quick temperature change is the key to getting this method to work for smaller dents.
Dent Puller Method

This option involves using a suction puller. These are small devices that you can use to pull the dents out of your car’s body panels with the force of suction alone. These can be useful in most cases, but they are not the most effective method we’ll look at today.
These devices work best on medium-sized dents. Smaller dents won’t benefit from the use of a suction puller, as most pullers will be larger than the size of the dent itself. However, with medium-sized and larger dents, this device can come in handy.
Before you get started, make sure that you’ve read the instructions that come with your puller. You’ll want to heat the metal using sunlight (as above), or using a hairdryer exclusively. Get the dent warm so the metal will be more natural to manipulate (and potentially more willing to snap into place).
You’ll also want to use a little bit of water on the surface before you begin. Using some moisture will help the suction part of the device create a more durable seal. The strength of this seal can determine if the dent puller works as intended.
[googleadsycc adunit=”inarticle”]
Dent pullers come in different sizes (including some that are small enough for regular hail damage patterns), so make sure you purchase one that is around the same diameter as the dent you’re trying to pull. The suction puller shines when working on larger dents for this reason.
Once you have a perfectly-sized dent puller and the surface is ready for it, you can place the puller over the dent. Make sure that you press lightly to form a seal – the seal is imperative in making sure the dent puller works.
With the dent puller attached, use the handle to pull it towards you. Hopefully, this motion will be enough to pull the dent out.
When using a dent puller for larger dents, make sure to start in the middle and work your way to the outer edges of the dent. The finished surface will be much smoother for it.
Dent Repair Kits

The last method for DIY car hail damage repair also requires the most skill and is often the most expensive choice. There are a ton of different dent repair kits that you can purchase at most automotive stores. The thing to remember about these repair kits is that you get what you pay for.
A cheaper dent repair kit ($20-$60) are often not equipped to handle dents well. The use of budget materials leads to a decrease in effectiveness (not to mention a few of them don’t include all of the required components).
That said, how much you want to pay is ultimately up to you. You can find DIY dent repair kits at most budget ranges. If you’re willing to spend some money (but not enough for a professional repair), this is the option you’ll want to go for.
However, the use of these kits comes with a warning. If you don’t know what you’re doing, you’ll want to practice. Even if you think you know what to expect, misuse of these DIY car hail damage repair kits can leave your car looking worse instead of better. To avoid creating more dents in your vehicle, test the equipment out first.
There are two main types of DIY dent repair kits in this category.
Glue Puller Kits

A glue puller kit includes a strong adhesive and a puller. When used together, they can sometimes remove more stubborn dents without damaging your paint. As always, use these tools carefully for the best results.
Here’s a quick rundown of how to use a glue puller kit.
- Choose a glue tab that is the proper size for the dent you’re attempting to remove. These kits usually come with multiple glue tab sizes for a variety of dent diameters. Note that these tabs are not meant to be adhesive themselves; instead, this is the place where you’ll put the glue to create a secure seal.
- Using the hot glue gun, apply a small amount of hot glue to the glue tab. This should be no larger than a pea. Don’t spread the glue around; you’ll want it to have some volume. A perfect application of hot glue should be a sphere on top of the glue tab.
- Attach the glue tab to the dent gently. Don’t squish the glue into the panel so that the tab touches the paint. Gently press it against the body of your car, making sure that the glue creates a barrier between the glue tab and the vehicle itself. Wait for the glue to dry before moving on.
- Attach the pulling device to the glue tab. The feet should be flush with the panel to avoid creating more dents on the panel’s surface. Make sure that there is a secure bond between the glue tab and the puller. Otherwise, you may not get the results that you’re after.
- Situate yourself in a position where you can get the most leverage. Using the handles on the pulling device, pull it back towards you. If you followed all the steps above correctly, the dent should pop out a bit, decreasing its size.
- Deal with high-spots (spots that pop out too much) by tapping them down with a rubber hammer. It may take some work, but with some patience, you can create a smooth surface. If it isn’t perfect, it is at least better to look at than the hail damage.
Note that glue puller kits can get expensive. Despite their claims to be paintless DIY car hail damage repair kits, the adhesive still has a chance to pull off bits of your car’s paint. Also, consider that this is not the best kit to use for smaller dents.
Dents, where you can easily use a smaller dent puller, should be handled with one, as using this much force on a minor dent can cause the opposite problem.
If you have practiced and have some skill or knowledge of how this kit works, this can be an excellent option for removing larger dents. Keep in mind that there is the possibility to create more dents and use the equipment carefully.
Slide Hammer Kits

A slide hammer kit is more closely linked to what a professional would use but on a much smaller scale. You can choose to purchase a slide hammer kit with a glue pull base or a suction cup base, depending on which you prefer.
Whichever option you choose, a slide hammer is simple to use. It’s easier than a glue puller because it requires very little upper body strength to pull out a dent – especially a smaller one.
You’ll need to attach the end of the slide hammer to the suction cup or glue tab using the end with the prongs. Then, slowly pull back on the moving handle to release the dent, popping it back out of the body panel.
Always be careful when using a slide hammer kit. Follow the instructions provided with the equipment carefully and make sure that you are using it cautiously. A slide hammer can quickly produce enough force to bend your body panel the other way.
If this happens, you may need to repair the damage with a rubber hammer and other dent tools before moving on.
Further Considerations
As noted above, taking your car to a professional body shop is the best way to ensure that hail damage is fully repaired. It is costly, and with older cars, it can cost more to repair the vehicle than the vehicle is worth.
However, if you are considering fixing your hail damage yourself, consider your options carefully. Make sure that you factor in your skill level and the tools that you’ll need, as well as how much you’re willing to spend.
And if all else fails, you can try filling in the dents rather than trying to pull them out. On pieces that can’t be replaced (such as the roof, fenders, and other parts that can’t be removed from the vehicle), you could use some sort of long-term adhesive that dries hard to minimize the appearance of the dent.
With these methods, you can attempt to paint over the adhesive once it has dried. But beware of these methods, as you can leave your car looking worse than before.
Conclusion
Before you commit to DIY car hail damage repair, know what you’re up against. Weigh your options carefully and make sure that you can follow through with the repair. These DIY methods may help reduce the size and appearance of some dents, but professional dent repair is the only way to ensure that the damage is fixed correctly.

0 Comments