

It happens. You’re proud of your car and take care of it but, one day, in a grocery store parking lot or while you’re at work, your car gets a scratch or a chip. It can ruin the look of the car and depreciate your vehicle even more.
Read below to find different ways to fix your car’s minor dings and scratches. We’ll give you detailed instructions and list all the tools you’ll need. You’ll first need to determine what type of scratch it is.
Table of Contents
Categorizing Your Scratch
There are different fixes to car scratches, depending on how bad the scratch is. Here are the different categories of scratches we’ll discuss:
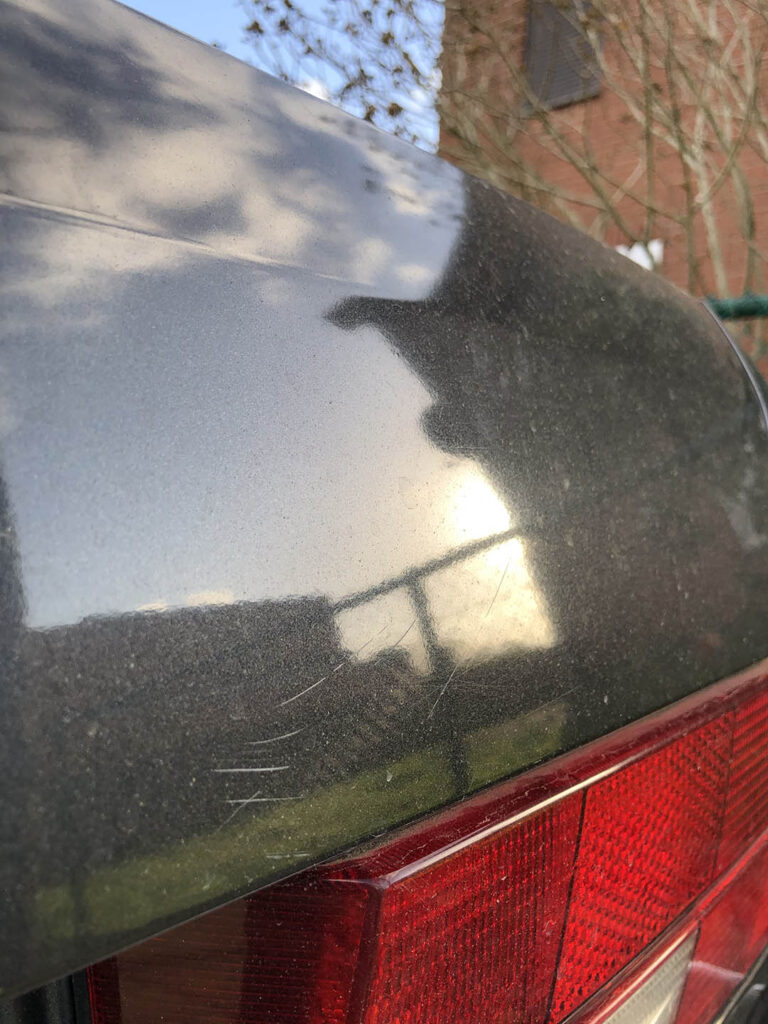
Clearcoat Scratch

On top of your car paint is a thin layer of clearcoat, a material that protects your paint from environmental issues like:
• Dust
• Acid Rain
• Direct Sunlight
If your scratch only damages your clear coat, this is a minor surface scratch and the easiest to repair.
[googleadsycc adunit=”inarticle”]
Primer Scratch
The primer is another layer car manufacturers give to cars to give vehicles a shinier, smoother surface. If you have a scratch that has cut through the clear coat into the primer, this can ruin the paint job and even cause rust if not repaired on a timely basis. This is a more complex scratch and will require more work on your part.
Paint Scratch
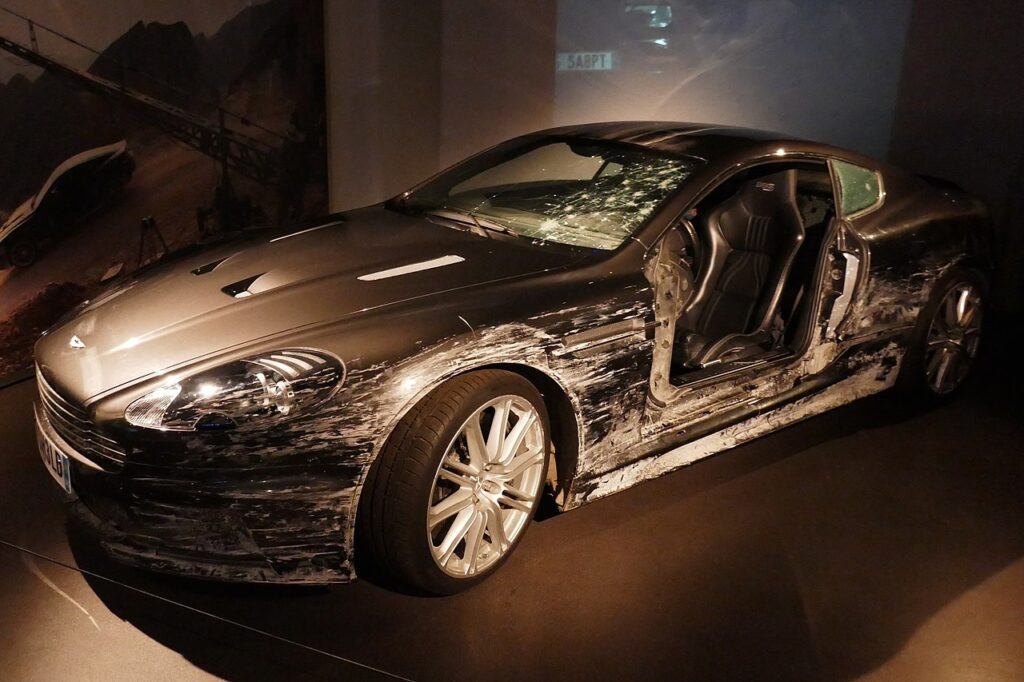
If you can see the metal sheet under your car’s layers, you have a paint scratch. This is the worst scratch of all and the hardest to repair. This is the kind of scratch you get from someone keying your car or a major accident. For this type of scratch, you will need to use paint.
4 Easy Ways To Repair Scratches
Once you’ve identified which type of scratch you have, you can then see which scratch repair works for you. There are different ways to solve the problem of car scratches. Depending on your car and the scratch, there’s not really a “one size fits all” scenario. You can choose from the following:
1. Painting Your Car Yourself – Deep Scratches
2. Using a Scratch Removal Product – Small to Medium Scratches
3. DIY Fixes – Surface Scratches
4. Using a Paint Pen – Medium to Deep Scratches
Painting Your Car – Deep Scratches
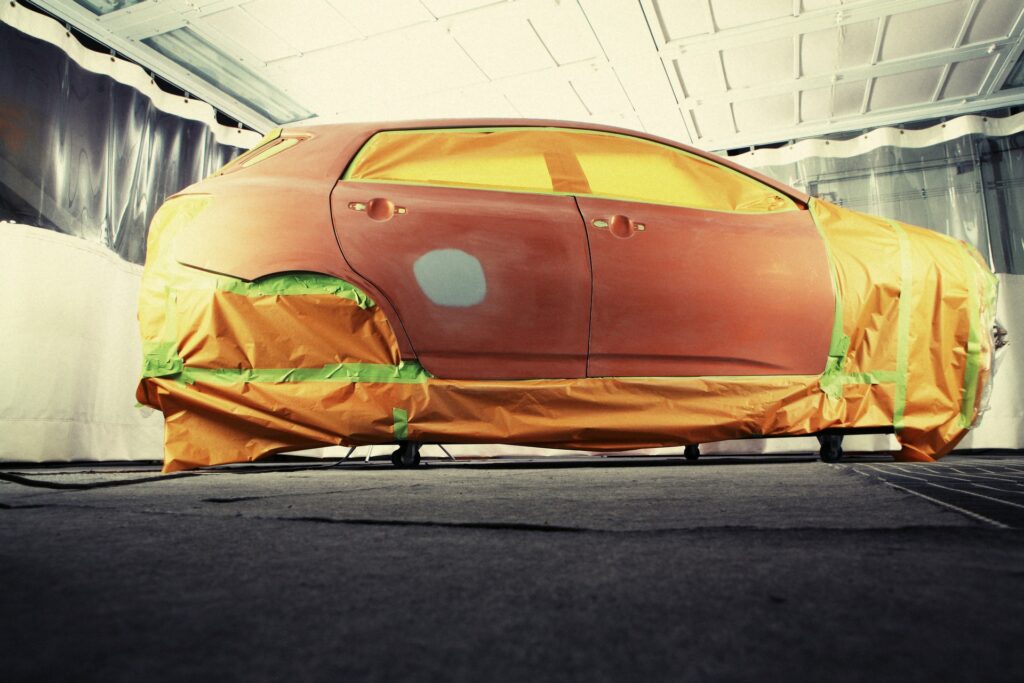
You will want to take care of deep scratches quickly. If you don’t, they will get worse. A deep scratch is considered a scratch that has ripped through the clear coat and paint layers to penetrate the innermost primer layer.
You will need some supplies to get you going. You can opt for a complete kit from your local auto parts store, which should have everything you need. If you have some items lying around, you may just want to buy them piecemeal. Here are the supplies most useful in painting scratches, large and small:
• Prep solvent
• Rubbing compound
• Sandpaper of various grits
• Rubber gloves
• Dust rag
• Pre-taped plastic to block overspray
• Primer
• Basecoat
• Clearcoat
Here are the steps that will most easily let you spot paint your car:
Wash and Dry your Car Carefully
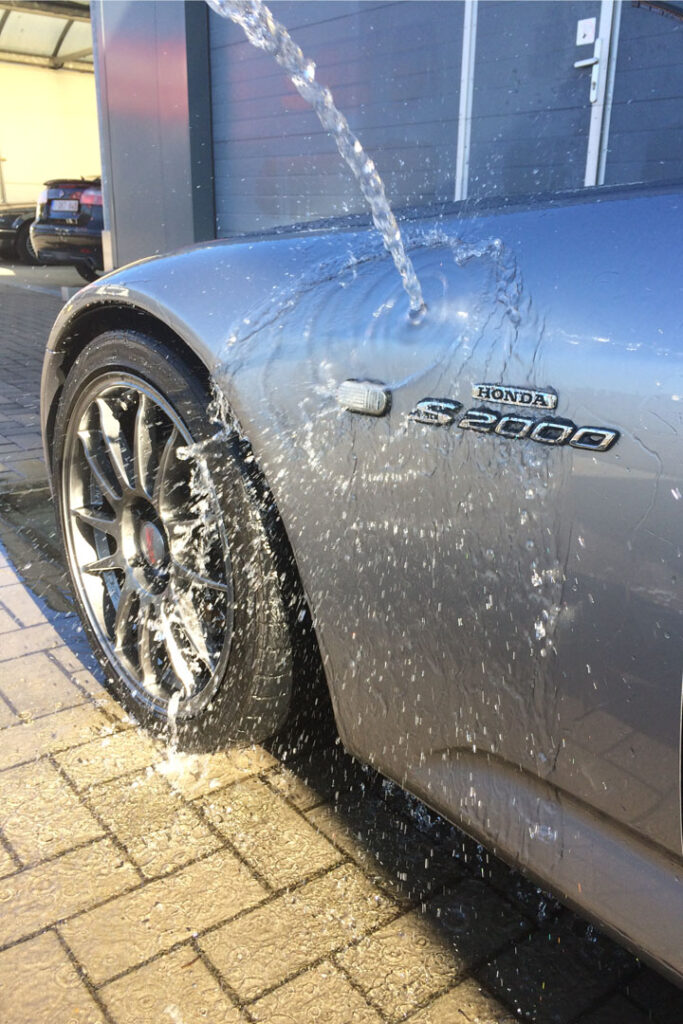
Wash your entire car, thoroughly. Not only do you want the scratched area and the area around it to be very clean but you also want to make sure the paint matches the original vehicle color. It’s best to do this with a completely clean car.
After washing, use microfibers to dry your car. If you have other soft cloth around your home, you can use it as well. Before moving on to the next step make sure the entire vehicle is dry, especially the scratched area.
Sand the Scratched Area
This is an important step. You’re going to get down to bare metal in and around the scratched area. For a brief while, your car will look much worse. Don’t stress. You’re going to fix it. To accomplish this, do the following:
• Use 200 or 250 grit sandpaper to sand area for about 15 seconds – Use a higher grit if the scratch is not that deep
• Check the scratched area to see if you need any more sanding
• Do not sand so much that you rub through the last layer
• Sand the scratched area in the direction of the scratch
• Use a clean piece of sandpaper so dirt on the sandpaper doesn’t cause even more small scratches in the area
Rinse and Dry the Area
Now, rinse the scratched area and get off all the sandpaper and small particles that appeared when you sanded. Make sure you use a clean cloth to dry the area after you rinse.
Do not use dirty rags for this purpose as it could result in more small scratches on your car.
Spray a Few Primer Coats onto the Sanded Areas
Before beginning this step, put up your pre-taped plastic so you don’t overspray your scratched area. You have to be very careful with the primer coats. Remember that this is only to fix deep scratches in your paint job, normally due to catastrophic damage, like keying or a wreck.
The primer will fill in the small scratches made by the sandpaper, which is what you want.
[googleadsycc adunit=”inarticle”]
When you spray your primer coat, spray it for just a few seconds at a time. Don’t spray in one place for too long. Spray the entire scratched area. Wait 5 to 10 minutes for the primer coat to dry and then spray another layer if needed. It may take more than one coat of primer. Just be patient and let it dry between paintings.
Some car enthusiasts sand with very fine grit sandpaper between sprays.
Try to choose a primer close in color to your original paint color. It makes it easier.
Apply a Few Paint Coats Matching with your Car Color
In the same way that you applied the primer, apply the paint. Gently spray the paint in a back and forth motion for a few seconds.
Wait until the painted area dries thoroughly before deciding whether or not to add another coat. Your object is to have the repainted area match as closely in color to your original paint job as possible.
Finish with a layer of clear coat for protection.
Wax the Repaired Area to Seal the Paint
Once the paint has dried, and the color has matched to your satisfaction, it’s time to wax the scratched area. You can use one of the following to wax your car:
- Microfiber cloth
- Other soft cloth
- Buffing pad
You will want to have a high-quality wax to give your car a good sheen.
Once the wax is put on, buff it out. The wax fills in tiny scratches and gives the entire vehicle a shiny, new look.
You can buy a waxing kit at any auto parts store, and it will include everything you need to wash and buff your car.
Important: Press down on your cloth using medium pressure and move in circular motions.
Keep waxing until you see that the car surface looks like your original paint job. You should go ahead and wax the entire car so that you can make sure the repainted area matches the original.
Using a Scratch Removal Product

Scratch removal products may be your best bet for scratches that don’t damage the inner-most metal surface of the car. Scratch removal products basically fill in the scratched area, working the paint layer to repair the scratch. Best of all, it’s easy to do. Just follow these simple steps:
Purchase a Scratch Removal Product
There are a lot of scratch removal products on the market, all claiming to be the best at what they do. Sometimes it’s difficult to know which ones really work as well as they claim. We’ve broken it down for you. Here are excellent choices for the best scratch removal products currently on the market.
Product | Pros | Cons |
 Meguiar’s G17216 Ultimate Compound | ✅ Not as course as other scratch removers | 🛑 Strong formula – be cautious |
 Turtle Wax 50734 Complete Compound | ✅ Complete kit | 🛑 Expensive |
 3M 39071 Scratch Removal System | ✅ Complete kit | 🛑 Only one application |
 3M 39044 Scratch Remover | ✅ Eliminates fine scratches | 🛑 Only good for fine scratches |
 Chemical Guys GAP_VKIT_101 V36 Optical Grade Cutting Polish | ✅ Good for heavy imperfections | 🛑 Expensive |
 Mothers 08408 California Gold Scratch Remover | ✅ Good for most paint types | 🛑 Not as good as others on the list |
 Chemical Guys Com_129_16 Scratch and Swirl Remover | ✅ Easy to use | 🛑 Expensive |
[googleadsycc adunit=”inarticle”]
Wash Your Car
Before doing any type of scratch repair on your car, you will want to wash it, and this is no exception. Use a non-abrasive cleaner and a soft cloth, if possible.
Note: A gentle dishwashing liquid or automotive soap is a good choice for washing your car.
Get rid of all the dirt in or near the scratch. Rinse very well and repeat if needed to get all the dirt out of the area. Make sure you dry the area thoroughly before moving on to the next step.
Apply A Small Amount of Product to The Scratched Area

The amount of the scratch removal product you use will be directly related to the size of the scratched area. Start with a small amount of product in the palm of your hand.
Put onto your cloth and work the amount around the cloth or pad so that it covers the majority of the cloth.
Work Product into The Scratched Area
Work the product using a circular motion into the scratched area of your car. Make sure you work the product in thoroughly, covering the entire area. You want to get deep into all the scratches.
Wait and Wipe
Once you’ve rubbed the product thoroughly into the scratched area, let it sit for a good 10min before you wipe off the residue. Let it dry completely but do not allow any of the excess to dry on the vehicle. Wipe away the left-over product with a soft cloth.
Repeat if Needed
You can put scratch remover on about three times before you need to stop. If you put it on any more than that, it may start eroding the clear coat layer of your vehicle.
DIY Fixes
DIY fixes should only be attempted on surface scratches. These may work well if the clear coat is scratched but not as well if the primer or paint coats are compromised.
WARNING: Household remedy fixes may only provide a temporary fix and the effects may wear off over time!
Here’s a good way to tell if you can use a DIY fix on your scratches: Run your nail over the scratch or chip. If your fingernail doesn’t get caught on any scratch, your scratches are likely to be only surface or shallow scratches, and you can proceed with your DIY fix.
If you do have a surface scratch, you can potentially save yourself some money by using items you may have lying around your home.
What You’ll Need
Here are some items you can use to fix the scratches on your vehicle:
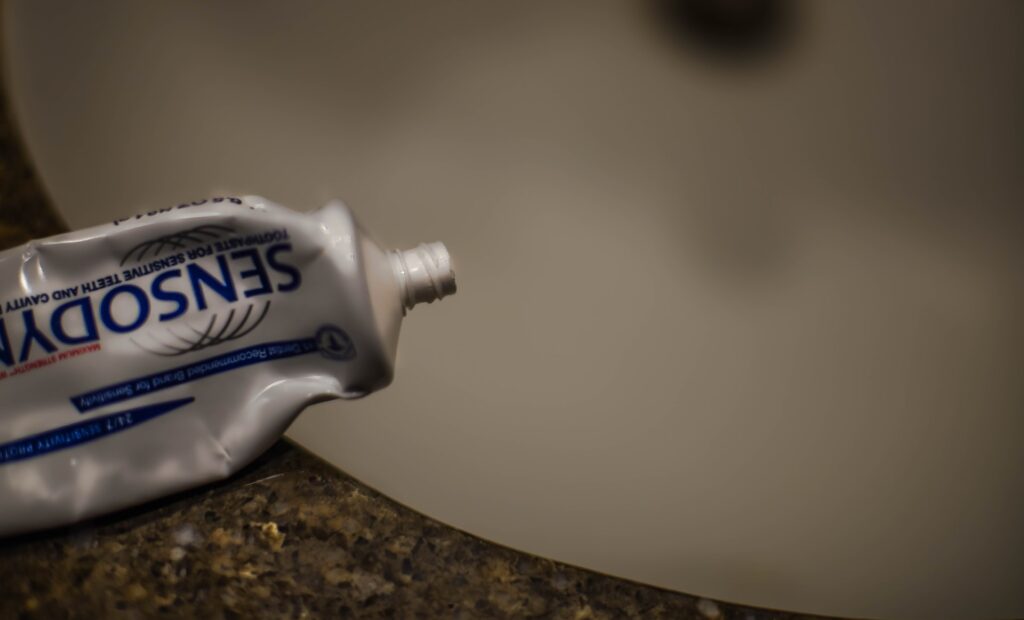
• Toothpaste – Works as a polishing compound and is as abrasive as 3000 grit sandpaper
• Nail polish – May be able to cover the scratches that sanding and buffing cannot remove
• Candle wax – While not actually a scratch remover, it can cover up light scratches
• Super glue – This is good as a transparent material that levels the minor scratch with the surrounding area
Once you have your DIY scratch remover, you should also have these items:
• Sandpaper of various grits
• Microfiber or some other soft cloth
• Non-abrasive soap and water
• Shoe polish
• Wax
• Liquid detergent
[googleadsycc adunit=”inarticle”]
Repairing The Scratch
All that’s left to do is to repair the scratch. For the below tips, we used toothpaste.
- Wash with non-abrasive soap and water. Dry with soft or micro-fiber cloth afterward
- Apply shoe polish of a darker color than your vehicle. Use a soft or micro-fiber cloth to apply. The shoe polish will spread out and fill the scratch.
- Sand the scratched area. Mix a couple of drops of liquid detergent into a bowl of water and dip 2000 grit sandpaper into the bowl. Sand using a gentle motion until shoe polish has been removed.
- Put toothpaste on scratch. Clean area first and then put toothpaste onto a wet cloth. Rub in the toothpaste using circular strokes. Repeat until the scratch has disappeared.
- Wax your car. Use a soft cloth and use circular strokes. This will be your protective layer.
Be aware that the DIY solutions mentioned above are not necessarily long-term solutions. The candle wax, for instance, will wear off with time and you will have to reapply.
Tip: If you’re using nail polish, all you have to do is clean and dry the area before applying. That way, there is no need for sandpaper or shoe polish. This is a cover-up, not a repair for a scratch or a chip. You can also better match the nail polish to your color car.
If you want better results with DIY, definitely read on!
Using a Paint Pen

Using a paint pen is a quick and easy fix to repair any scratches or chips you may have on your vehicle. They will fill in deeper scratches and binds itself to the original paint in a short period of time.
You must first pick the paint that is closest to your car’s paint color. There are color codes associated with vehicles. Somewhere on your car is a factory paint code, and it is probably on a sticker under the hood or in the doorsill. If you have that code, you can request the exact paint to match your car.
If you can’t find the code, you can always take in a paint sample so that an auto paint dealer can match it. For this, you can take in a a chip of paint that has fallen off or take in a gas cap, as they’re easiest to remove.
How to Get Going
As mentioned, it’s very easy to use a paint pen. You may need some primer if the scratch is deep enough. This also comes in a pen format, and you can pick it up when you get your paint pen. Here are the steps to apply:
Look the vehicle over thoroughly
You want to make sure you discover any scratches or chips on your vehicle, so you only have to do the work once.
Prepare the scratched surface
Using a non-abrasive soap and water, clean the scratched areas. Once this is done, dry off thoroughly with a microfiber or other soft cloth.
Apply primer, if needed
If a primer is needed, this is the point where you apply it. If the color underneath the paint has been exposed, you will need to use a primer as well as paint. Shake pen very well before applying and press down hard on the pen tip when applying.
After applying primer, let dry and sand down with very fine-grit sandpaper, like 2000 or 3000 grit. Wipe away any residual dust and clean the excess primer off the tip of the pen.
Apply the paint
Shake vigorously. You want the liquid to flow down to the tip of the pen. Press down hard on the pen tip as this will allow the liquid inside to flow outside. Apply the paint evenly and smoothly. Don’t stay in one spot too long. Allow the paint to dry completely.
The Final Word
Repairing scratches on your vehicle doesn’t have to be difficult or expensive. You can do it yourself in just a short amount of time. Depending on the depth of the scratch, you may even be able to polish scratches out using household products.
If your car has been keyed or been in an accident, you will probably want to use the painting DIY explained above. For smaller scratches, you can use a scratch removal product.
Whatever you choose, it’s good to tackle scratches and chips before they spread and ruin the look of your vehicle. With a little prep, you can tackle these yourself.

0 Comments