If you have ever purchased or built a
house, you know there are several different features that you look for. One popular feature is a basement. In most homes, the basement follows the
footprint of the above-ground structure.
However, some homeowners take basement building a step further and want
to include a basement under the garage floor.
Is a basement under the garage a good
idea? A basement under the garage is
possible and is a great way to add extra space to your home, but it takes
careful planning and extreme precision when executing the plan. You must remember a garage floor is
responsible for holding an excessive amount of weight. If it isn’t constructed correctly,
you are sacrificing the integrity of the structure as well as your safety.
Can a Garage Have a Basement?
Although not common, garages can most
certainly have basements. Many
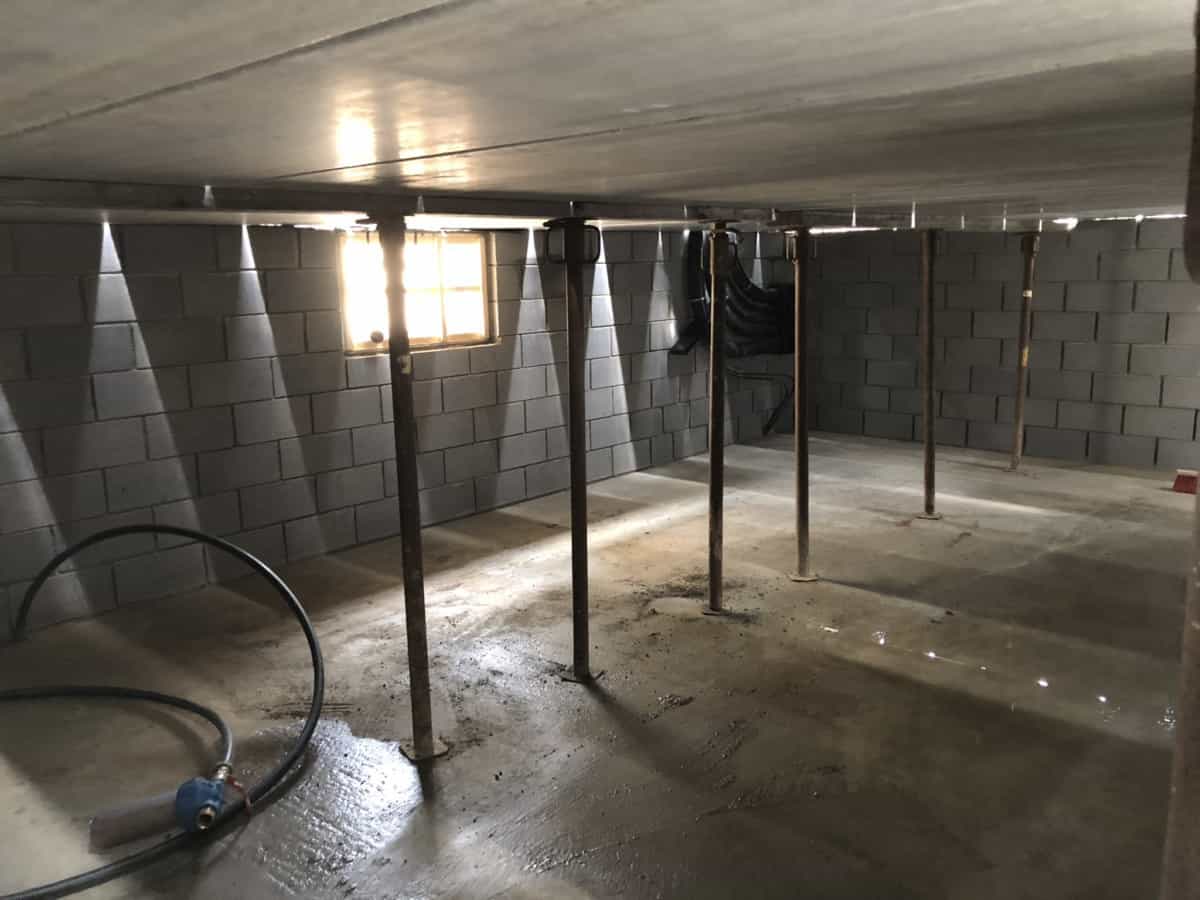
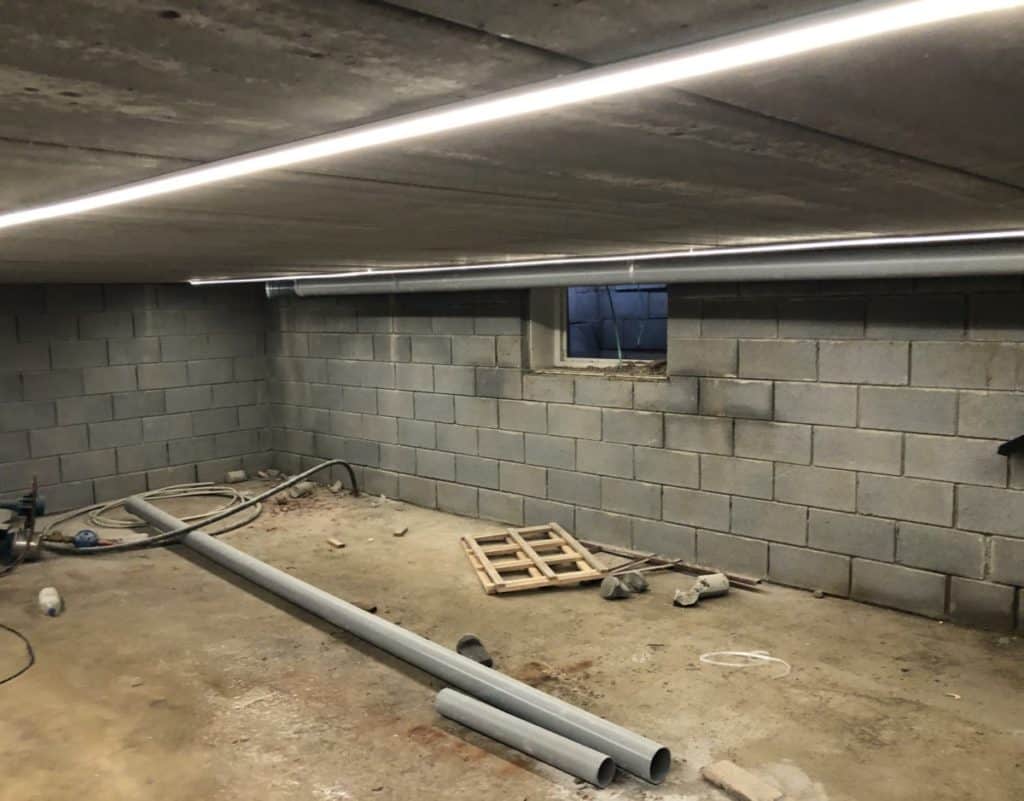
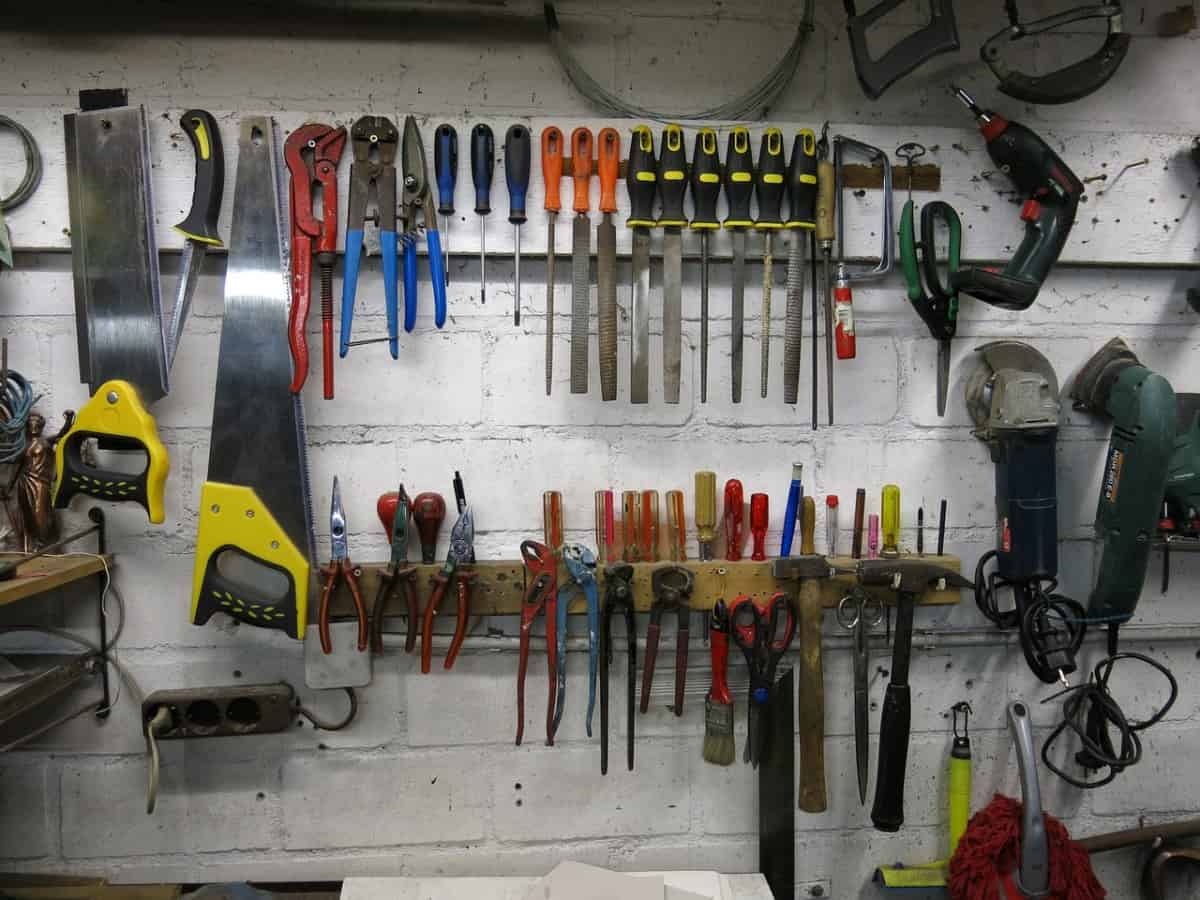
individuals choose to have a workshop area under their garage, while others
prefer a living or storage space. No matter what you use the space for, it is
possible to create it.
It is not recommended to build a garage
under the basement yourself because there are many factors to take into
consideration when planning, such as:
Is the cost worth the hassle?
Is it possible to build up or
out?
Is it less expensive to
purchase more land to expand on?
Is the Cost Worth the Hassle?
The cost of putting a basement underneath a
garage varies based on your location and the construction company you work
with. If you are living in an area where extra space is scarce, a basement
under your garage may be the perfect option.
When exploring the cost of the
construction, be sure to work with a company that has experience with this type
of construction. You must remember
safety is going to be of utmost importance.
The weight that will be held by your garage floor is significant, so
you want it to be built well.
Is It Possible to Build Up or Out?
In most locations, there are strict
building codes in place, especially in more urban areas. However, before
beginning a massive project, you should check the building codes to
determine if you can build another floor above a garage or if part of your
existing home can be extended.
These are major construction projects but
will likely be less costly than building a basement under a garage. So, they are worth looking into if the cost
is an issue for you.
Is It Less Expensive to Purchase More Land to Expand On?
When planning to build a home with a
basement under the garage, it may be wise to determine if there are other
parcels of land that would allow you to build without putting the basement
under the garage. You will have an
upfront cost with the purchase of the property, but in the long run, it will
likely save both money and time.
Building a Basement Under a Garage
If you have looked at all possible options
and have decided that building a basement under your garage is your only
option, there are some essential things you need to keep in mind when preparing
to put a basement under a garage.
Materials
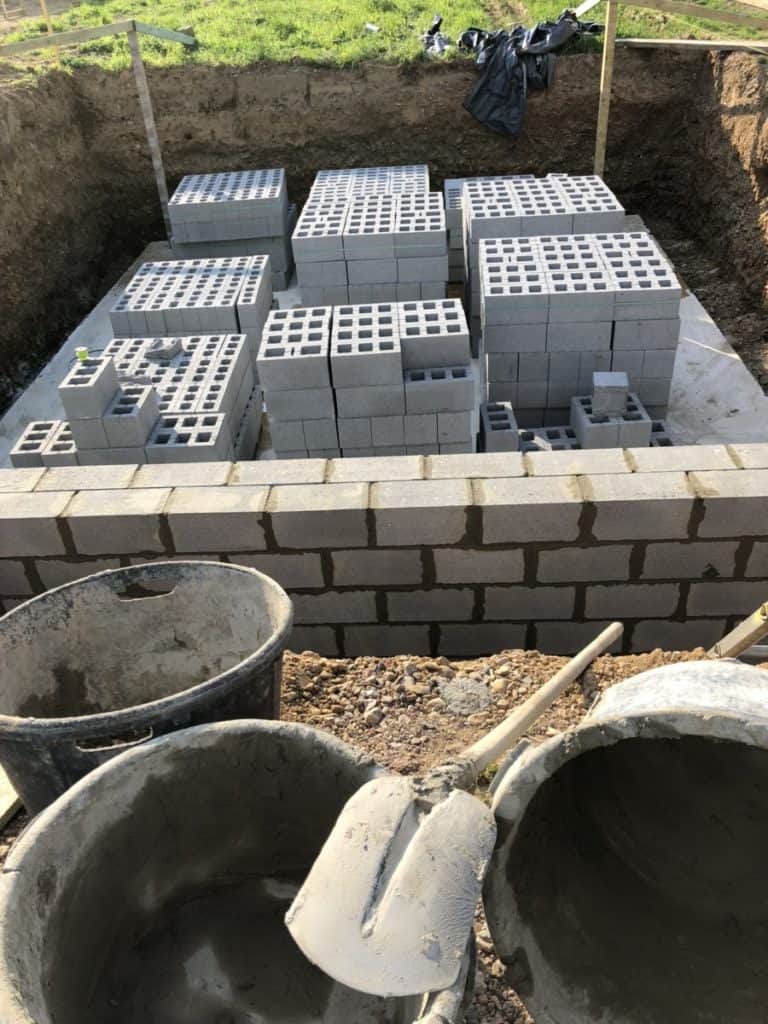
Steel reinforced foundation
walls on all four sides, a minimum of twelve inches thick.
Pre-engineered concrete floors in
the garage with flexicore
A crane to lift the prefabricated
floors.
The materials listed above are standard for
a project of this magnitude. A
contractor that is certified to build a basement under a garage will likely
have a specific manufacturer to purchase the materials from.
When placing the floor onto the foundation, the flexicore must be attached to the walls to ensure the stability of the floor. If you are planning to run pipes or anything to the basement, you will need to plan to do so, as this flooring is very difficult to cut through. Therefore, other modifications may need to be made.
[googleadsycc adunit=”inarticle”]
What is Flexicore?
This material is typically found in
industrial construction projects where multiple stories are to be
constructed. The material is weighty
because of the steel beams inside the concrete, so a heavy-duty crane is
necessary. It is ideal for this type of project because durability and
safety are critical.
Considerations
When planning to build a basement under a
garage, many variables can impact your ability to do so. Even if you have the financial ability to
build the basement, other factors will play a part in your decision, some of
which you can’t control, such as zoning and insurance issues.
Some questions to ask yourself while
planning your basement include:
What is the purpose of the basement (storage, living space)?
[googleadsycc adunit=”inarticle”]
What are Basements Under Garages Used for?
People build basements under the garage for
many reasons. Some of the most common reasons are a theater room, workshops, and
storage. It is important to know the purpose of the basement before building
so that you know what modifications may need to be made.
For example, if you are planning to store vehicles or lawn equipment in the basement, you will likely need a ramp to move them safely. If this is the case, you need to determine where the ramp will be located and if the access point will be through the garage or from the exterior.
If you are using the basement for a living
area, such as a theater room, you will want to make sure the garage floor is
sealed and insulated correctly, so no fumes or moisture get into the basement
area. You will also want to use this to
gauge any supports that are needed. If
it is a living area, you will likely not want to have excess poles in the
basement.
What are the Problems with a Basement Under the Garage?
Although it is a fantastic way to use all
available space, many problems can come with the construction of this type. Some
of the most common issues are:
It takes a long time to build the area. Because of the amount of careful planning and materials needed to execute the building of such a space, it is not something that can be done quickly. This could lengthen the amount of time required to complete your construction.
You must hire an engineer to complete the project. This is not a simple task. Most general contractors are not licensed or certified to complete a job like this. If you don’t hire a trained professional, it could become a hazardous addition to your new home.
The home may not sell well. If you are planning to sell your home eventually, this may not be a feature that is coveted by all buyers, which may make the home difficult to sell.
[googleadsycc adunit=”inarticle”]
What are the Benefits of a Basement Under the Garage?
Knowing there are downfalls to most plans,
there is also a wide range of positives.
Although challenging to construct and plan, a basement under the
garage can be a helpful addition to any home for these reasons.
Added storage space: Many people use this space to store seasonal home equipment such as
lawnmowers, snowblowers, etc.
A safety room: Because of the strong foundational walls and underground location,
it is ideal as a storm shelter.
More living space: If you are searching for a way to add living space, this may be a
great way. Some people use this as a
theater room or even a recreation area for pool tables, etc.
Final Thoughts
As you can see, many items need to be considered when deciding to build a basement under your garage. If you can secure the proper permits and are lucky enough to find an engineer to work with you on the project, this is a fabulous way to add space to your home.
When browsing DIY advice columns, chances are
you’ve seen, plenty of advisors tell you to store items on your garage wall.
The thing is, tools are heavy and so are all the little items you need to drill
in order to keep your stuff hanging on a wall. There’s got to be a limit!
How much weight can a garage wall hold? This
all depends on the type of shelving that you have, as well as the material that
your garage wall holds. Garage walls are often made of either cinderblock or
drywall. Drywall can hold several hundred pounds, while sturdier material can
max out at approximately 650 pounds.
Before you start tacking away at your walls,
it’s wise to understand what your walls can handle and how to make the most of
your garage space. Materials alone can only do so much, which is why you need
to get a better grip on weight physics. This quick read will help.
How Much Weight Can A Garage Wall Hold?
Garage walls are a regular go-to for storage,
but they still have their limits. Before you bother trying to mount anything to
your wall, make sure that you know how sturdy your walls are. This can be done
by checking out your garage wall material.
If you have drywall on one or more of your
garage walls, it’s best not to use that for large-scale storage. On the other
hand, if your garage’s walls are primarily made of cinderblock or are heavily
reinforced, you can store several hundred pounds on each wall.
How Does Weight Distribution Impact Your
Garage Wall Storage?
The more evenly distributed the weight of your
storage is, the better. After all, two square feet can carry more weight than
one. Six square feet will be able to carry more than two. The more even the
weight distribution will be, the more stable your walls will be.
When Should You Avoid Garage Wall Storage?
Though garage walls can hold quite a bit of
weight when they are properly cared for, there are occasions where garage walls
should be avoided as a storage method. These include:
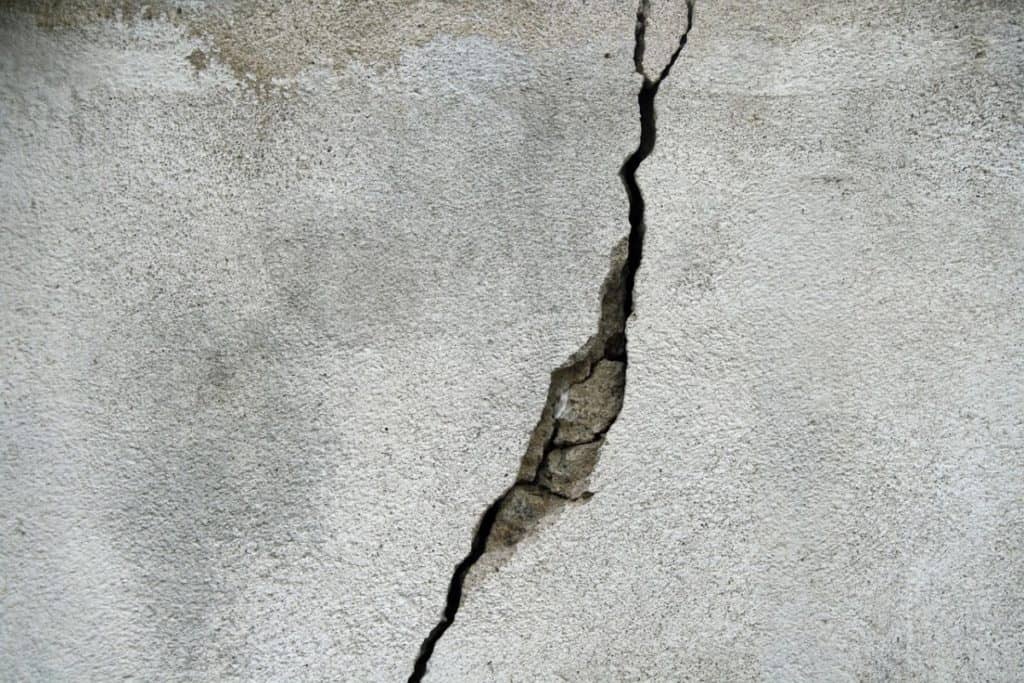
Cracked Walls. Cracked walls are not sturdy walls. They can’t be
trusted to hold the capacity they were expected to hold.
Moldy Walls. Mold and mildew can both cause walls to lose structural
integrity. It’s best not to chance it.
Walls That Show Signs Of
Stress. Are some of the studs starting
to push through the drywall? Do you have the feeling that the wall isn’t
as strong as it should be? Don’t risk the danger of trying to work with a
dangerous wall.
Structural Damage. You should never try to hang up an item on a wall that
has known structural damage that hasn’t been fixed. This is a great way to
make sure your wall collapses.
Using A Drywall Garage Wall For Storage
Drywall is aesthetically attractive, but it’s
not the sturdiest material. It’s brittle and can easily break. With drywall,
the amount of weight you can hold will depend on the stud. Each stud that
reinforces your walls can carry between 5 to 10 pounds without hangers.
If you have light tools that you want to keep up, that won’t be a problem. However, if you want to work with larger items, this can pose a serious issue–and might even break your wall!
[googleadsycc adunit=”inarticle”]
How To Increase Drywall Weight Capacity
If you really need to make your drywall carry
some weight, there are options out there for you. It all boils down to how much
you’re willing to splurge on tools and how much work you’re willing to do. Your
drywall capacity improvement options include:
Using nails and hangers. They’re a tried and true way to expand carrying a load. Walls with hangers that are attached to studs or installed in an otherwise correct manner can carry up to 20 pounds.
Using expanding plastic sleeves. These are often used for heavy frames and bulletin boards. They can carry 10 to 20 pounds, depending on their workmanship.
Using toggle bolts. These are a heavy-duty option that can carry up to 50 pounds per bolt. They are difficult to install but are often worth it if you absolutely need them.
Adding reinforcement. If you’re okay with opening up the wall and adding steel trusses or similar hanging equipment behind your drywall, this can help add a wide range of different weights.
Can Drywall Work With Bracket Storage Options?
In many cases, drywall can be compatible with
bracket wall-mounting storage kits. Before you get a kit, make sure that the
kit is labeled as suitable for drywall. If you aren’t sure, ask a professional
before you go forward.
Using Concrete And Cinderblock Walls For Storage
There are different types of cinderblock wall
makes, each of which has its own maximum capacity. Cinderblocks that are hollow
are not good for garage wall storage purposes at all.
These are brittle and can break with the hit of
a hammer, making them dodgy as far as weight-bearing goes.
Concrete-reinforced cinderblock walls and concrete-poured walls, on the other hand, are incredibly resilient. These walls are better suited for large scale storage but will require you to install brackets that are graded for the amount of weight that you want to hold.
[googleadsycc adunit=”inarticle”]
Can I Increase My Hollow Cinderblock Wall
Storage Capacity?
Yes, kind of. If you’re remodeling, adding
poured concrete reinforcements to your walls can help you bolster your
capacity. If you are sticking with hollow bricks, then you only have one way to
improve your maximum weight load.
The only way to safely store items on a hollow cinderblock
wall is to get a structural engineer involved. They will weld plates into place
on your wall that span the size of multiple blocks. You can then weld a bracket
to the plates in order to hang your items on the wall.
With most concrete and cinderblock walls, your best option is to look into brackets that are capable of holding your items adequately. Each bracket kit will come with tools and instructions that will help you install them successfully. In some cases, these kits can also be used with drywall.
Each bracket kit will hold a different amount of weight, depending on the workmanship and design. The majority of brackets can hold anywhere from 100 to 400 pounds, with specialty brackets from Rhino being capable of offering up a jaw-dropping 650 pounds.
[googleadsycc adunit=”inarticle”]
What Other Storage Options Are Available For
Garage Walls?
A good rule of thumb when it comes to wall
storage is that it’s better to be safe than sorry. If you aren’t completely
sure that your walls will be capable of storing your items, it’s better to try
a different method for your storage. Some of the more popular options include:
Ceiling Storage. If your ceiling has high-quality trusses, you might be able to put a shelving unit that hangs overhead. Much like with your walls, it’s ceiling trusses can break, so make sure that the amount you store is light.
Floor Shelving Units. Though not ideal, having your items stored via a floor shelving unit is typically the safest way to store your goods. Since the floor is (literally) grounded, the only limit to how much you can store this way is the strength of the shelving units you have.
Hybrid Storage. Some rare kits offer wall storage that is also reinforced by ceiling structures. Having that extra help can keep your wall intact and keep your items safe.
Outdoor Storage. If you have a shed, it’s worth considering transferring your items to it. It might save you time and money.
Freezers can be very useful when it comes to
storing that excess food we may have stuffed into our fridge, however many
don’t consider their functionality when placed in an unheated garage. The
garage is one of the most popular places to store a freezer, but if placed in
an unheated garage, you may run into some issues.
Can you have a freezer in an unheated garage? It is possible to keep a freezer in an unheated garage. However, freezers will begin to face complications when the overall temperature of the garage drops below 50 degrees Fahrenheit. If located somewhere where the general temperature of your garage does drop far below this temperature, then your freezer’s compressor may fail to turn on resulting in the accidental thawing of your freezer’s contents.
There is much more, however, to consider when
deciding whether or not your unheated garage is a compatible location for your
freezer. Understanding how certain conditions of your garage and its
temperature affect your freezer can save a large amount of money in lost frozen
goods and repairs in the future.
Problems with An Unheated Garage
There are typically a few common issues that occur with a freezer located in an unheated garage. With the introduction of potentially drastic changes in temperature to an appliance that wasn’t built specifically for these conditions, your freezer is bound to face some damages.
The Compressor
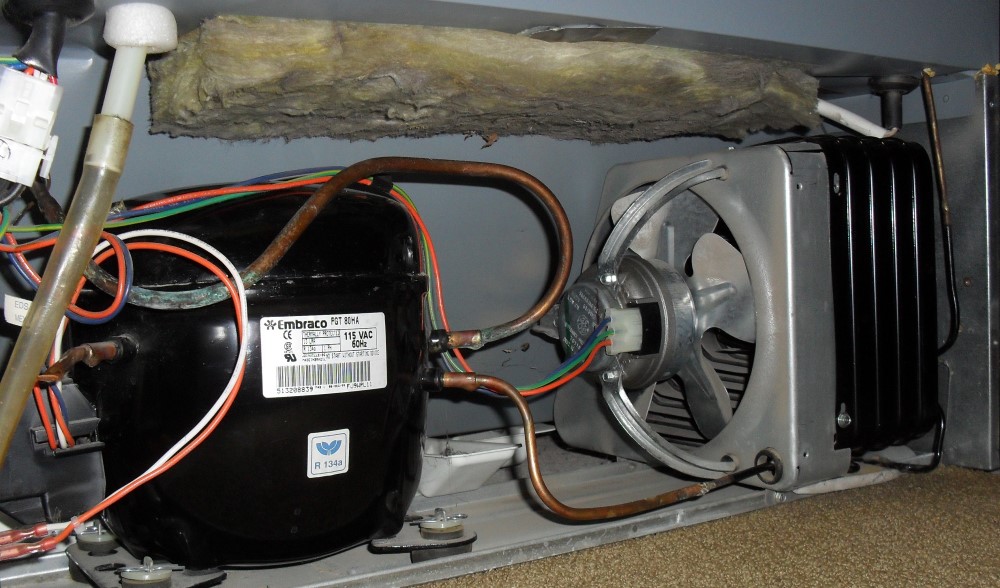
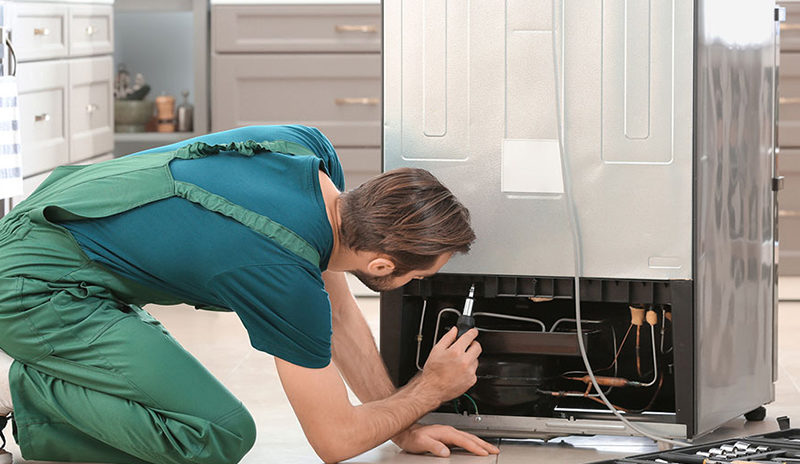
The compressor is the part of the freezer that is directly responsible for maintaining the freezer’s low temperatures through a process of increasing its internal pressure. When placed in an unheated garage where the temperature outside the freezer is significantly lower than that of the freezer, the compressor runs the risk of not activating as it should.
The extremely low-temperature conditions prevent the compressor from operating properly. In doing so, your food could be failing to meet the required temperature to achieve freezing and thaw as a result. This not only adds additional costs by the potential of needing to replace the compressor but also puts you at risk for possible bacteria growth on your food.
[googleadsycc adunit=”inarticle”]
The Insulation
A freezer placed in an unheated garage is
constantly facing wavering temperatures and therefore accumulates a build-up of
frost in its insulation, which if left unmaintained can be costly damage. As the cold temperatures continue, more
frost builds up, reducing the insulation ability to keep out the cold external
temperatures. Unfortunately, in most cases, the damage is unrecognizable
until much later, meaning it usually isn’t detectable until its time to repair
the irreversible damages.
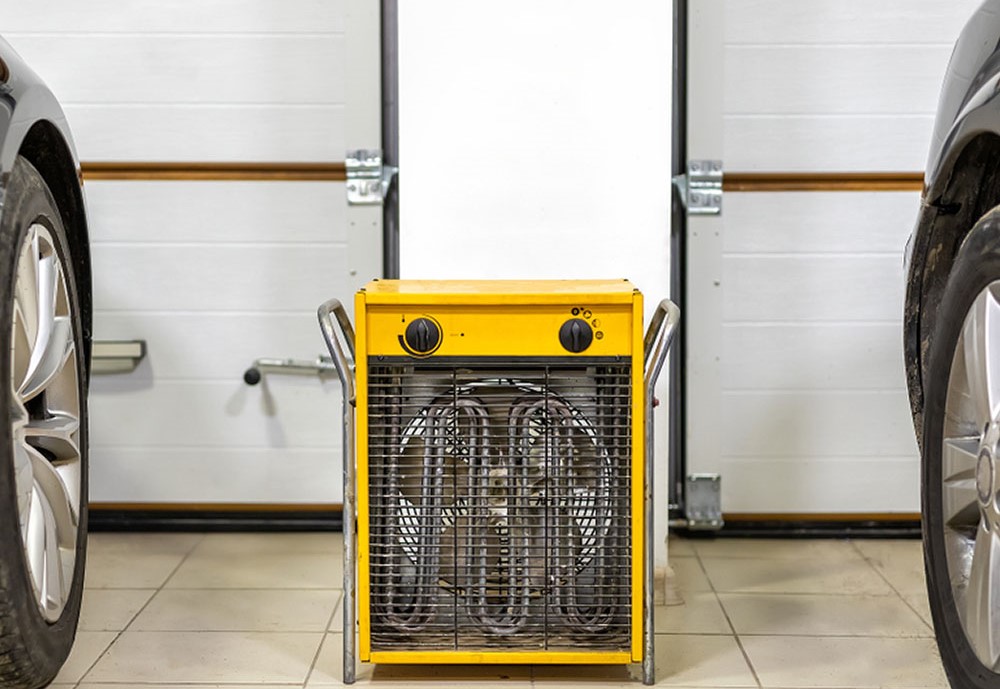
External Heating Units
If your garage’s low temperatures are
negatively affecting your freezer, you can always consider investing some money
into an external heating unit. The
simple addition of an external heating unit can ensure your freezer works
properly. An external heating unit, placed directly by the freezer may seem
counterintuitive, but it is one way to ensure that your freezer’s compressor
maintains its functionality.
By placing an external heating unit directly
by your freezer, the freezer’s compressor will be able to detect the warm
temperature from outside of it and trigger the compressor to begin cooling the
contents of the freezer to their freezing temperature. It is vital, however, to
consistently monitor the heat being outputted by the unit in order to ensure it’s
countering the wavering temperatures.
For this solution, you want to be sure that:
There is an available power outlet nearby.
The external heating unit is of the appropriate size to meet the
requirements of your freezer.
The heating unit is not located too close to any objects that might
prove to be a fire hazard.
While this method does require a small upfront investment, it is one guaranteed way to prevent potential future damages and expenses from occurring.
[googleadsycc adunit=”inarticle”]
Insulating the Freezer
With the primary issue of outdoor freezers
being the extremely low temperatures, another possible option is to create a
second layer of insulation for the freezer. If you have access to some wood and
insulation, you could simply create an insulated wooden container for the
freezer to be placed in.
By
surrounding the freezer with a wood and insulation based frame, you can manage
to keep more of the extreme temperatures outside the insulated area so the
compressor can operate its primary functions. This
method does require some further expertise, as you will need to have the
knowledge of how to construct a basic box structure from wood and apply a layer
of insulation, but its a method definitely worth trying.
You may even consider combining this solution
with the previous solution and add an additional heating unit in the insulated
area of the temperature still proves to be too low.
For this solution, you want to be sure that:
Your budget allows you to buy the necessary wood and insulation for the
frame.
Your garage has enough space to house the insulated container and the
freezer.
You properly support the frame before setting the freezer inside of it.
You properly adhere to the insulation to the wood (Any unfastened piece
of insulation will allow more cold temperatures to enter the insulated
container).
Depending on where you live, you might not be
able to provide your freezer with the precautions it needs to operate properly.
However, by switching to an outdoor
freezer, you won’t have to worry about external temperature’s negative effects
on the appliance.
Although the additional cost might be a negative to some, it will prove to be a very positive investment for both your time and leisure in the future. Outdoor freezers come in an abundance of sizes and fit various food-keeping needs.
[googleadsycc adunit=”inarticle”]
Best of all, you won’t have to worry about:
However, this solution doesn’t come with its
share of negatives. The main negative for this solution is that most outdoor
freezers, while protected against harsh temperature conditions, aren’t
waterproof for wet weather conditions. This could potentially open the door to
further damages if not accounted for when deciding the placement of the freezer
in the garage.
With all this in mind, this method still
provides the clearest, low maintenance solution to the problem
Freezer Maintenance
Let’s say you already have a freezer that
doesn’t meet the requirements for extreme outdoor conditions. Although not the best option, you could
choose to maintain and repair any damages to your already existing freezer.
Maintenance
of the freezer includes:
Removing frost accumulated within the insulation periodically.
Adjusting and eventually replacing the damaged compressor and its
components.
Periodic evaluation and adjustment of the freezer’s parts.
Some general understanding of how your freezer
functions will be required if you attempt to repair it. Additional tools and
parts will be required, not accounting for the time it will take you to gather
these parts and apply them to the repair.
Keep in mind that this solution is not
suggested as a long term solution as it is highly unsustainable and very
time-consuming. It is less of a solution and more of a temporary band-aid to a
bigger problem, as the freezer will eventually become nonfunctional.
While taxing on time and effort, this method
will definitely save you money in the short term, but not as much in the long
term. This method is a decent way to make your current freezer last until the
purchase of an outdoor freezer. It is
possible to have a freezer in an unheated garage, but it is definitely not
recommended.
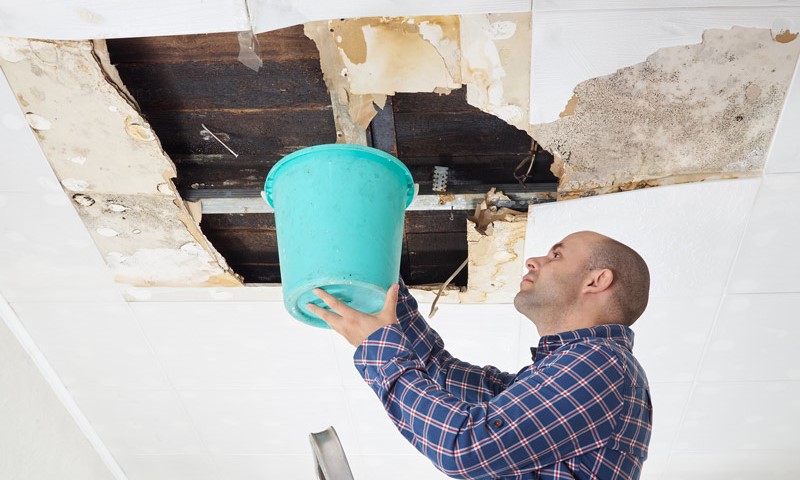
If you notice that your garage ceiling starts
to leak, you probably want to find and solve the problem as soon as possible.
After all, if the leak is huge or lasts a long time, it could damage your ceiling
and whatever is beneath it. To protect your garage ceiling, you need to know
how to troubleshoot a garage ceiling leak.
How do you troubleshoot a garage ceiling leak?
There are a few steps to troubleshoot a
leak in the garage ceiling. First, make sure the garage is properly insulated,
and that snow and rain can’t leak through. If there is a bathroom over the
garage, check to see if there’s a problem there. After finding the leak, the
next step will be to repair it.
Noticing a leak in your garage ceiling may be
annoying, but it does mean that you know the problem exists. That’s the first
step in finding the cause of the issue and fixing it. But consider each of the
steps involved in troubleshooting a garage ceiling leak.
Analyze The Location
The first step to troubleshooting a garage
ceiling leak is to determine the specific location of the lead. You can
probably find the spot based on a water stain on the ceiling or by stuff
beneath the leak. If you notice a particular corner is always wet, odds are the
leak is around there.
The specific location matters because you need to figure out what’s above the spot that could be causing the leak. A leak could appear due to some faulty piping in a room above the garage, or you might need to do the roofing. If it’s the roof that’s the problem, you should also consider the weather.
[googleadsycc adunit=”inarticle”]
For example, a leaking roof will be more
problematic during and after it rains or snows. Of course, a garage ceiling
could still develop a leak in dry weather, but the climate could impact the leak and the right steps to fix the
problem. If the garage is below part of the house, consider the room or rooms
above it.
Perhaps your bathroom is right over the
garage, and a leaky pipe could be making its way down. If it’s another room,
like a bedroom, you can see if a leak is there. It could be that you have a
leak in both the room and the garage. Make sure you consider different
possibilities when looking at the location so that you can figure out how the
leak developed.
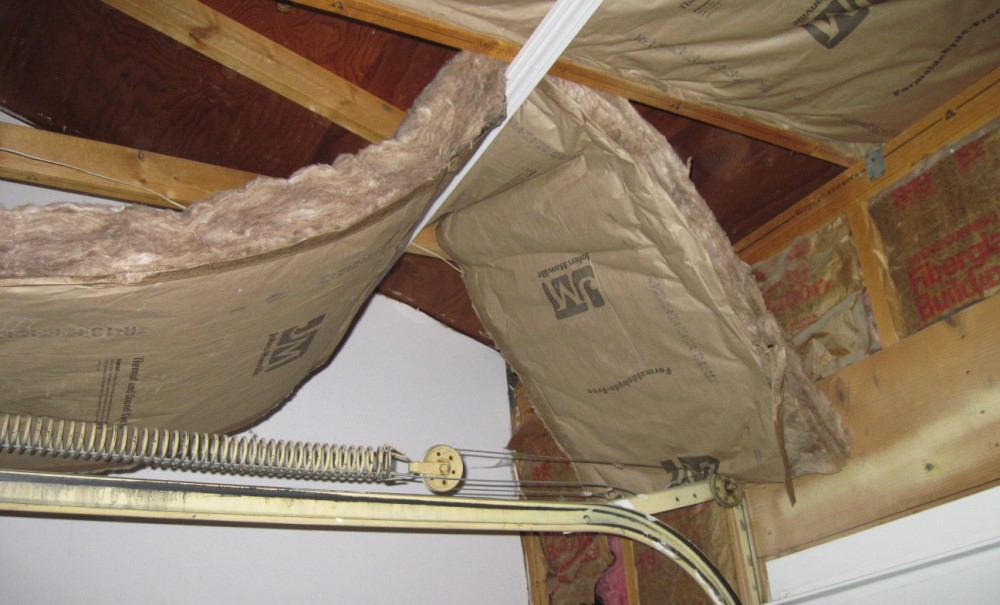
Check The Insulation
If the garage doesn’t have any rooms above it, there might be an issue with the insulation above the garage. When a garage doesn’t have the proper insulation, heat can escape and cause snow to melt. During the summer, this won’t be an issue, but it can get especially bad if you live somewhere that gets much snow.
Whether you have no insulation or insulation
that’s in bad shape, it’s probably the
cause of the leak. As the heat rises in your garage, it could melt any snow
that’s sitting on the roof. Even if it’s not winter, you should still check
your insulation to make sure it works properly.
Not only should you check the insulation near
the leak, but you should also check the
insulation all over. If the insulation can cause a leak in one part of your
garage, it can probably happen elsewhere, too. Different types of insulation work
slightly differently, but in any case, you want to make sure that there aren’t
any leaks in the insulation.
If you aren’t comfortable checking the insulation yourself, you can hire a professional to assess the situation. They can tell you if the insulation is the problem or if something bigger is going on. It can also be helpful to ask a professional since they will know how to install insulation if need be.
[googleadsycc adunit=”inarticle”]
Install Insulation
If you or a professional finds that
something’s wrong with the insulation, you may need to install or reinstall it.
That way, you can make sure the leak doesn’t get worse. Follow these steps, and
be careful if you choose to install it yourself.
Choose the type of insulation you want, such as fiberglass or cellulose. You can use the same type as the rest of your garage, or you can choose a different type if you find one that suits your needs better.
Get enough insulation to cover the area that you’re fixing. You can always overestimate so that you have extra material if you make a mistake.
If the insulation comes in slabs, cut it down to fit. Make sure you measure the area so that you know what dimensions you need.
Apply the insulation to the area affected. Depending on the type you choose, you might spray the insulation or place it where you need it.
Make sure it looks and feels secure. Now, wait a few days and check to see if the leak is still there.
After you install the new insulation, you can
wait until it rains or snows to check for a leak. If the leak is constantly
dripping, you may not need to wait for a storm. Instead, you can wait a day or
two to see if the dripping continues and if the problem might be bigger.
Check The Piping
If replacing the insulation doesn’t fix the
issue or if there’s a room above the garage, you need to check the piping
around the area. Sometimes, a leaky pipe can cause a leak below it, and that
can affect the garage ceiling. Unless you’re a plumber, it can help to hire one
to check and repair any leaks.
However, you can do some basic investigation before hiring help. If you have a
bathroom above your garage, ask a friend to help you check the water. One of
you should stand in the garage while the other is in the bathroom.
The person in the bathroom should run the water from the sink, and the
other person should watch for a drip in the garage. Do the same thing for the
showerhead and tub. From there, you should be able to determine the pipe that’s
leaking, which can help when you bring in a plumber.
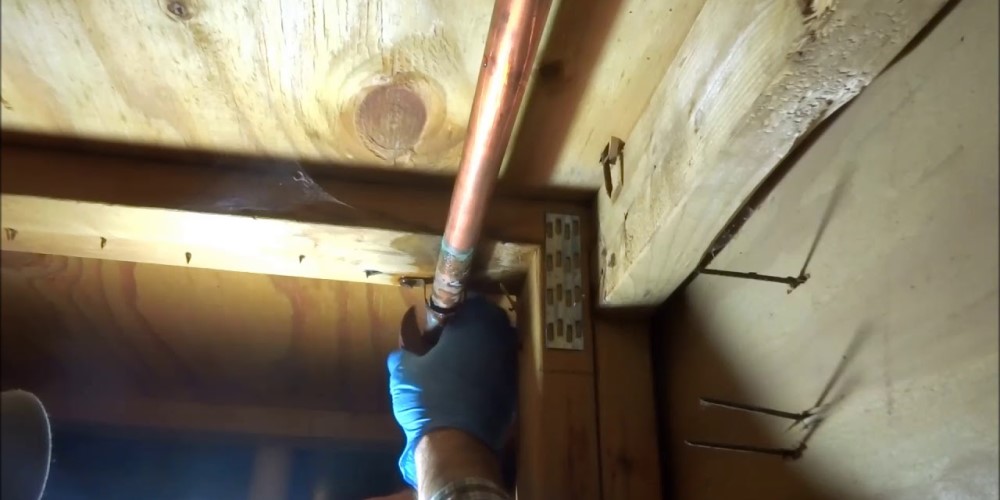
After you figure out what pipe might be causing the issue, you’ll need to repair or replace it. Unless you’re a plumber, don’t attempt to fix the issue yourself. You could get hurt, or you could make the problem worse.
[googleadsycc adunit=”inarticle”]
Repair The Pipes
Now, it’s time to call in a plumber who can
fix the leaky pipe. You can find a plumbing company in your area to schedule a
consultation and an appointment. When the plumber gets there, do what you can
to show them the problem so you can get it fixed more quickly.
Show the garage ceiling leak so that they can
understand the extent of the damage. This will help when it comes time to
repair.
Next, tell and show them the bathroom or pipe that you think is causing
the problem. That will give them somewhere to start, but they may still want to
inspect surrounding pipes.
Let the plumber get to work on the pipes in
your bathroom. Hopefully, they will be able to seal the leak, but be prepared
to replace the pipe if the damage is bad enough.
While you might be able to fix a small leak,
you should leave this step to a professional. That way, you can ensure that the
job gets done well and that the leak will be resolved. You may have to spend a
bit of money on the service, but it will be worth it to protect your garage.
Finding a leak in your garage ceiling can be
stressful, but you can fix the problem with some troubleshooting. You may need
professional help to seal up any leaks or cracks, but you can do some of the
investigating yourself. Then, you can make the most of the professional help
get you do need.
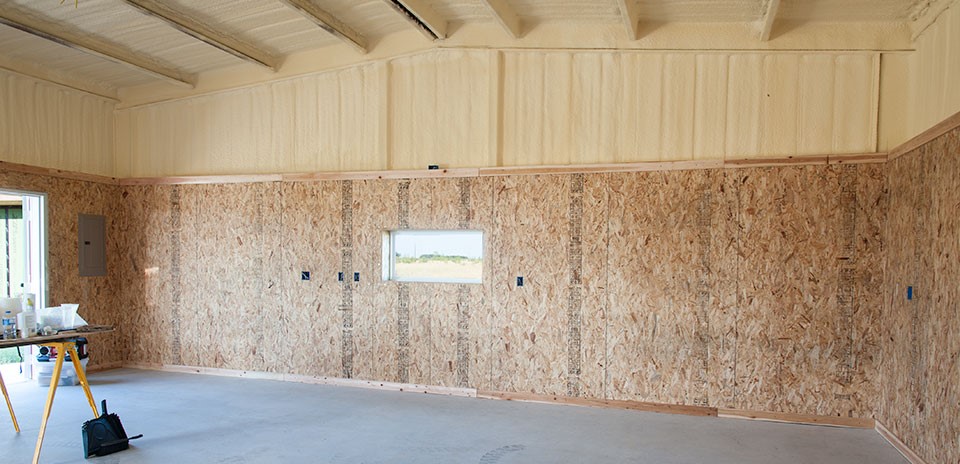
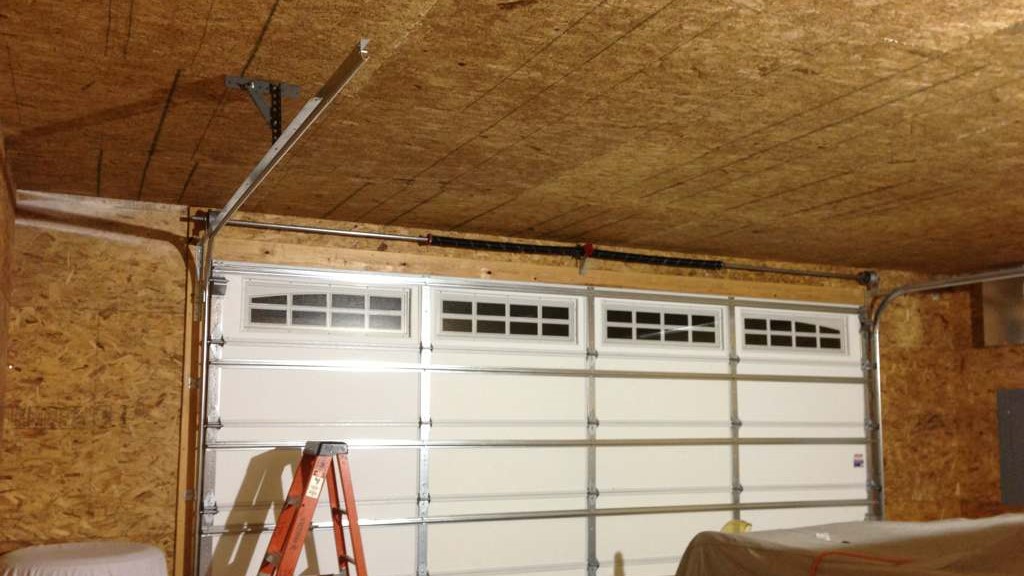
If you have spent enough time wondering what you are going to put on the walls of your garage cave, you have probably thought about the different options. One of those is OSB. But is it the ideal material for the walls in your garage? If you have ever wondered if OSB is right for the walls inside of your garage, we have a detailed list of the pros, cons, and board competitors!
Can
you use OSB for garage walls? OSB is
an excellent choice for garage walls because it is inexpensive, strong, and
easy to install. The main reason to
choose something else would be because of how it looks.
Let’s
take a look at OSB and why it is such a good contender for your garage walls.
What Is OSB Anyhow?
OSB stands for Oriented Strand Board. When you look at OSB, it just
looks like a bunch of wood chips that have been glued together. Well, that’s
because, essentially, it is.
OSB uses large wood shavings from a processed tree that are soaked
in resins and glues. These materials are then pressed together to form a large
sheet. The sheets are then cut to size and dried in industrial ovens, creating
a strong and flexible construction material.
While some older carpenters may remember a day when OSB was a
questionable material, you’ll be hard-pressed not to find it being used in home
construction today. Home sheathing and subfloors in single-family home
construction are commonly made of OSB.
Pros of Using OSB for Garage Walls
1. The price is right. OSB is cheaper than many other options, including plywood of the
same thickness, making it more economical. Cost is important when you need to
buy in bulk.
2. OSB is strong. The shear values mean that OSB can be used in not just flooring
and sheathing, but also in the webbing of wooden structural beams.
3. OSB uses the whole tree. The tree is chipped up in its entirety and
used for the boards. Since it doesn’t need to shave pretty sheets from the
tree, it wastes far less wood than plywood.
4. OSB is versatile. You can staple, nail, and screw into OSB. That makes it easy to
mount all of your decorations and lighter tools!
5. OSB does not absorb moisture easily. It takes a lot of water, usually constant
dripping or submersion, before you start to see it take on water.
6. It is readily available. You can go to any hardware or outlet store that
sells lumber and find stacks upon stacks of the stuff in various thicknesses.
7. No special tools required. All you need is a way to cut the OSB and screw it into the studs. No mud, no tape, no sanding.
[googleadsycc adunit=”inarticle”]
Cons of Using OSB for Garage Walls
1. Let’s
face it, OSB isn’t winning any beauty pageants. If you’re looking for a
nice finished look, this isn’t going to be your first choice. If you want your
space to look like a workshop while still being functional, you’ll be really
happy with it.
2. If
you ever sell your home, the chances are that the look of OSB is going to
hold less value than plywood or drywall to prospective buyers that don’t
know what they are seeing.
3. If OSB
does soak up moisture, it takes a very long time to dry out, and this
can cause the wood to rot. Lots of airflow is needed to help dry it out
properly. Also, OSB swelling tends to occur at the edges and is irreparable.
4. Some
OSB does have a toxicity warning. The materials used in the glue to bind the
woods sometimes vary, and some of those variations has a risk of off-gassing
(releasing into the air as a gas over time) formaldehyde.
a. Urea-formaldehyde (UF): The OSB containing UF should not be used indoors. The levels of
off-gassing formaldehyde are much higher and can be unsafe, especially with
lower airflow areas.
b. Phenol-formaldehyde (PF): The OSB containing PF still releases formaldehyde, but at rates that are so small they are not considered. Most of this off-gassing has finished before the OSB could even make it to the lumber yard or hardwood store. This material is subject to high standards as it is used in most subflooring and sheathing in homes.
What Does This Mean for Your Garage Cave?
OSB is not just a cheap material, but it is effective for most applications. You’ll be able to hang things on it, mount shelves to it, and you won’t have to worry very much about damaging it. The dangers of moisture damage are not going to affect most garage cave builds.
[googleadsycc adunit=”inarticle”]
OSB VS. Alternate Materials
There are plenty of other options for your garage walls, but they
are not all made equally. Each have their particular form and function, so
you’ll have to decide what is best for you.
Plywood
Plywood is lighter, prettier, and stiffer than OSB, but it is more
expensive. It also absorbs moisture easier than OSB, though it does dry out
much faster and easier.
Drywall
Finished drywall looks great and brings the feeling of a home to your space! Unfortunately, it isn’t as easy to mount things without using anchors and hitting studs. Drywall is harder to install and easier to damage, but you can also patch it in case of accidents.
Melamine Pegboard
Melamine pegboard turns your walls into ready tool racks. However, it isn’t as strong, isn’t pretty, and doesn’t allow for a multitude of mounting options.
Corrugated Metal
You can make your garage cave look like an old metal shed! It
looks cool, but it is a lot more difficult to cut to size, as well as more
difficult to create a sturdy and flush mount.
Wood Panels
Wooden panels come in many shapes and styles, such as shingles or
panels. They have a classic, rustic, and a pleasing look. It is also far more
difficult and time-consuming to install and creates some difficulty in locating
studs and mounting things securely, especially heavier objects.
Plastic Panels
There is a multitude of prefabricated plastic panels on the market today. They have a unique look but are far more difficult to mount to. If you’re going for the mad scientist look, this may be the one for you!
[googleadsycc adunit=”inarticle”]
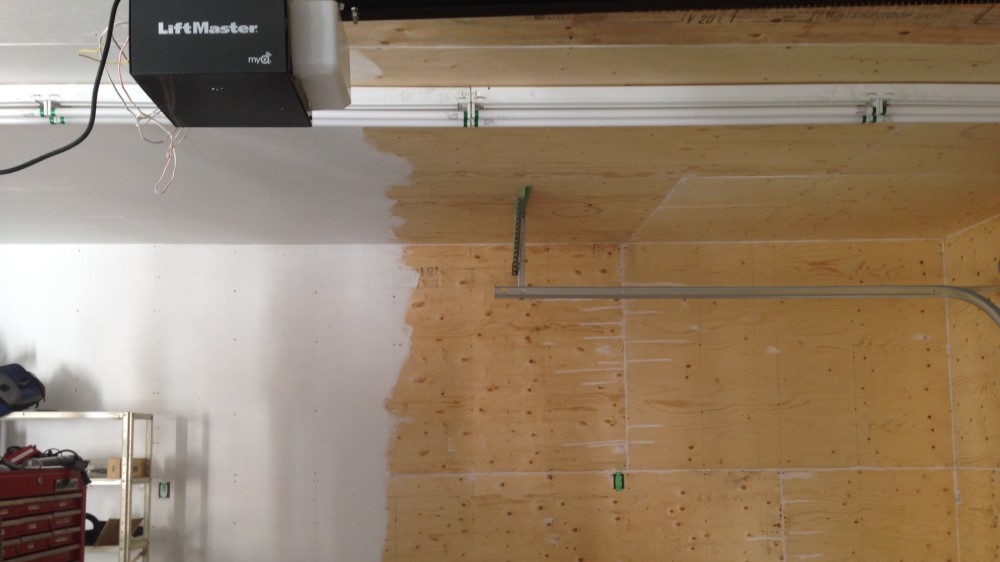
Why Not Both?
Mixing and matching materials like OSB and others are common.
Although the combination of OSB and plywood is usually done in the less visible
exterior of homes, it may be an idea of value for you in your situation.
Contractors often use pressure treated plywood as the first foot or two at the base of a house or under the windowsill. This is because these areas are where most of the moisture contact will happen, and the plywood helps to alleviate possible damage down the road. If you’re working with a lot of wet materials, this method may be for you.
If you want more information on how that works, check out this video.
Maybe you want a section of the wall to be pegboard for tools?
Maybe you’d like one wall to look like the entrance to an old woodshed? You can
mix the different looks to create unique, sharp, and functional walls for your
creative space.
So, can you use OSB for garage walls? Not only can you use it, you
probably should! It will certainly satisfy the structural needs you may have,
and maybe even be the rough aesthetic you’re looking for. The flexibility of
the material certainly gives you many options for experimentation and
customization of your space.